Please contact your selling dealer for any support. Please read all the instructions prior to installation and to assess which tools you will need.
1
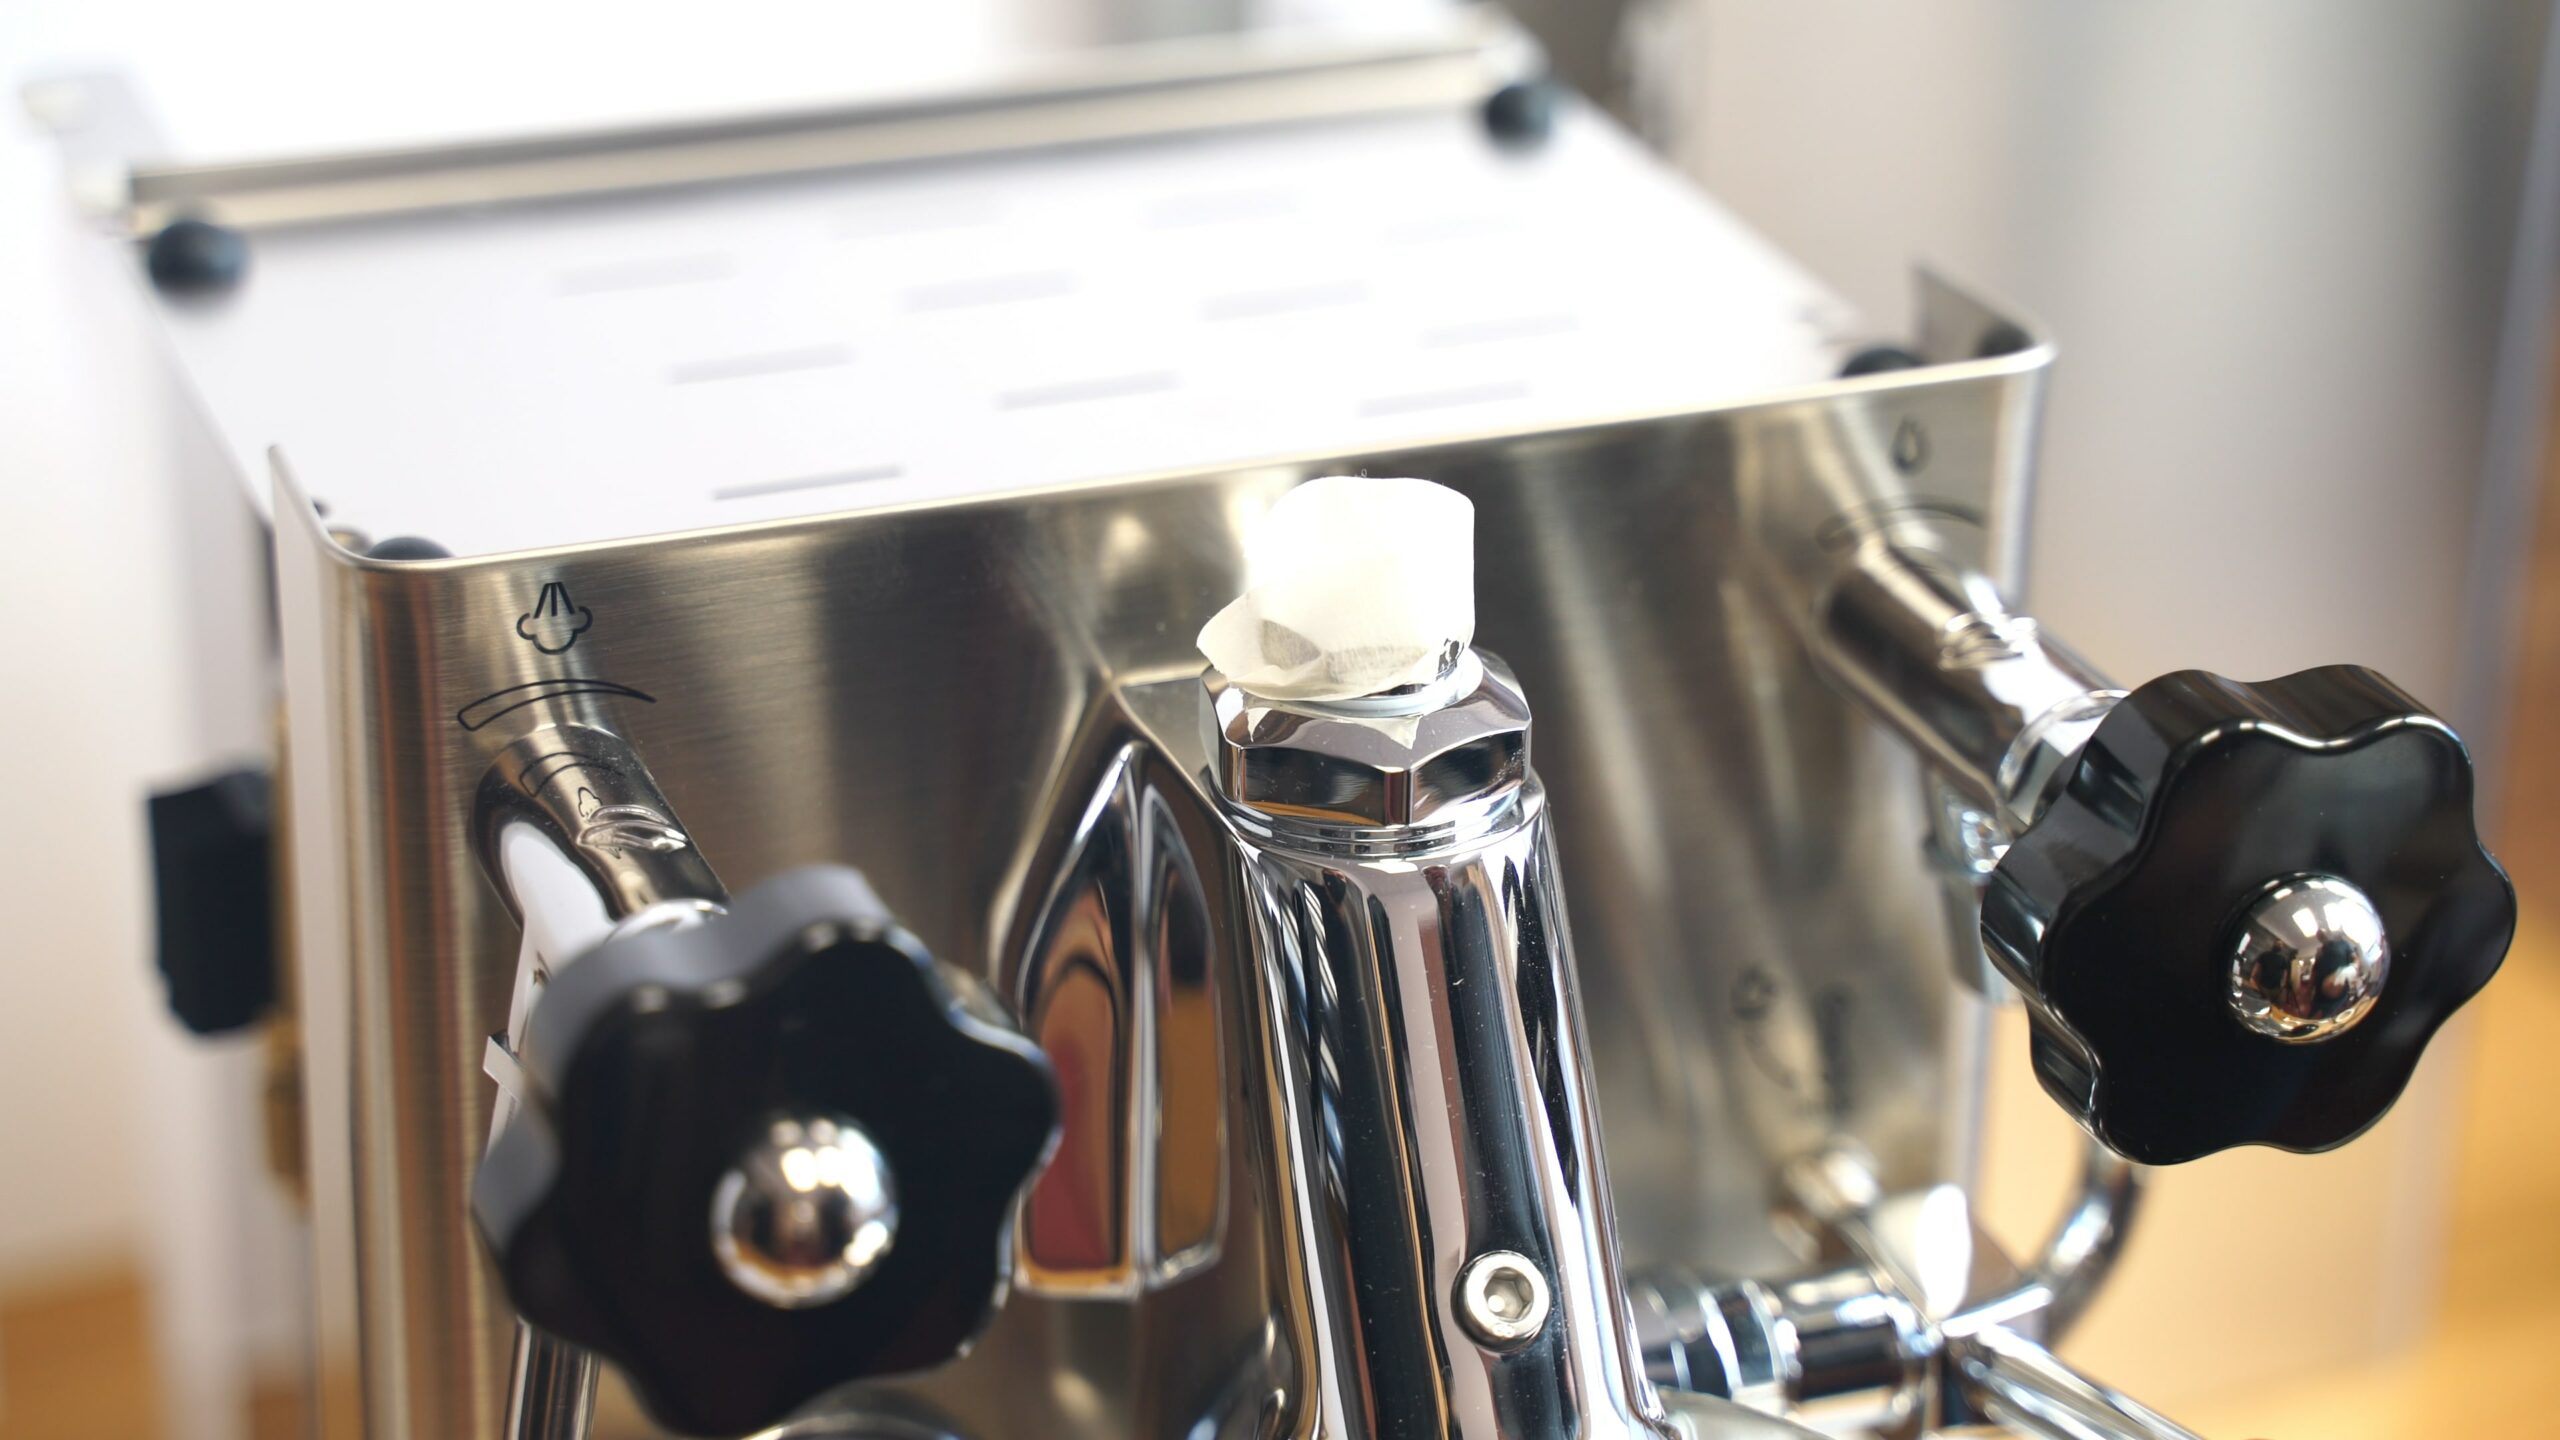
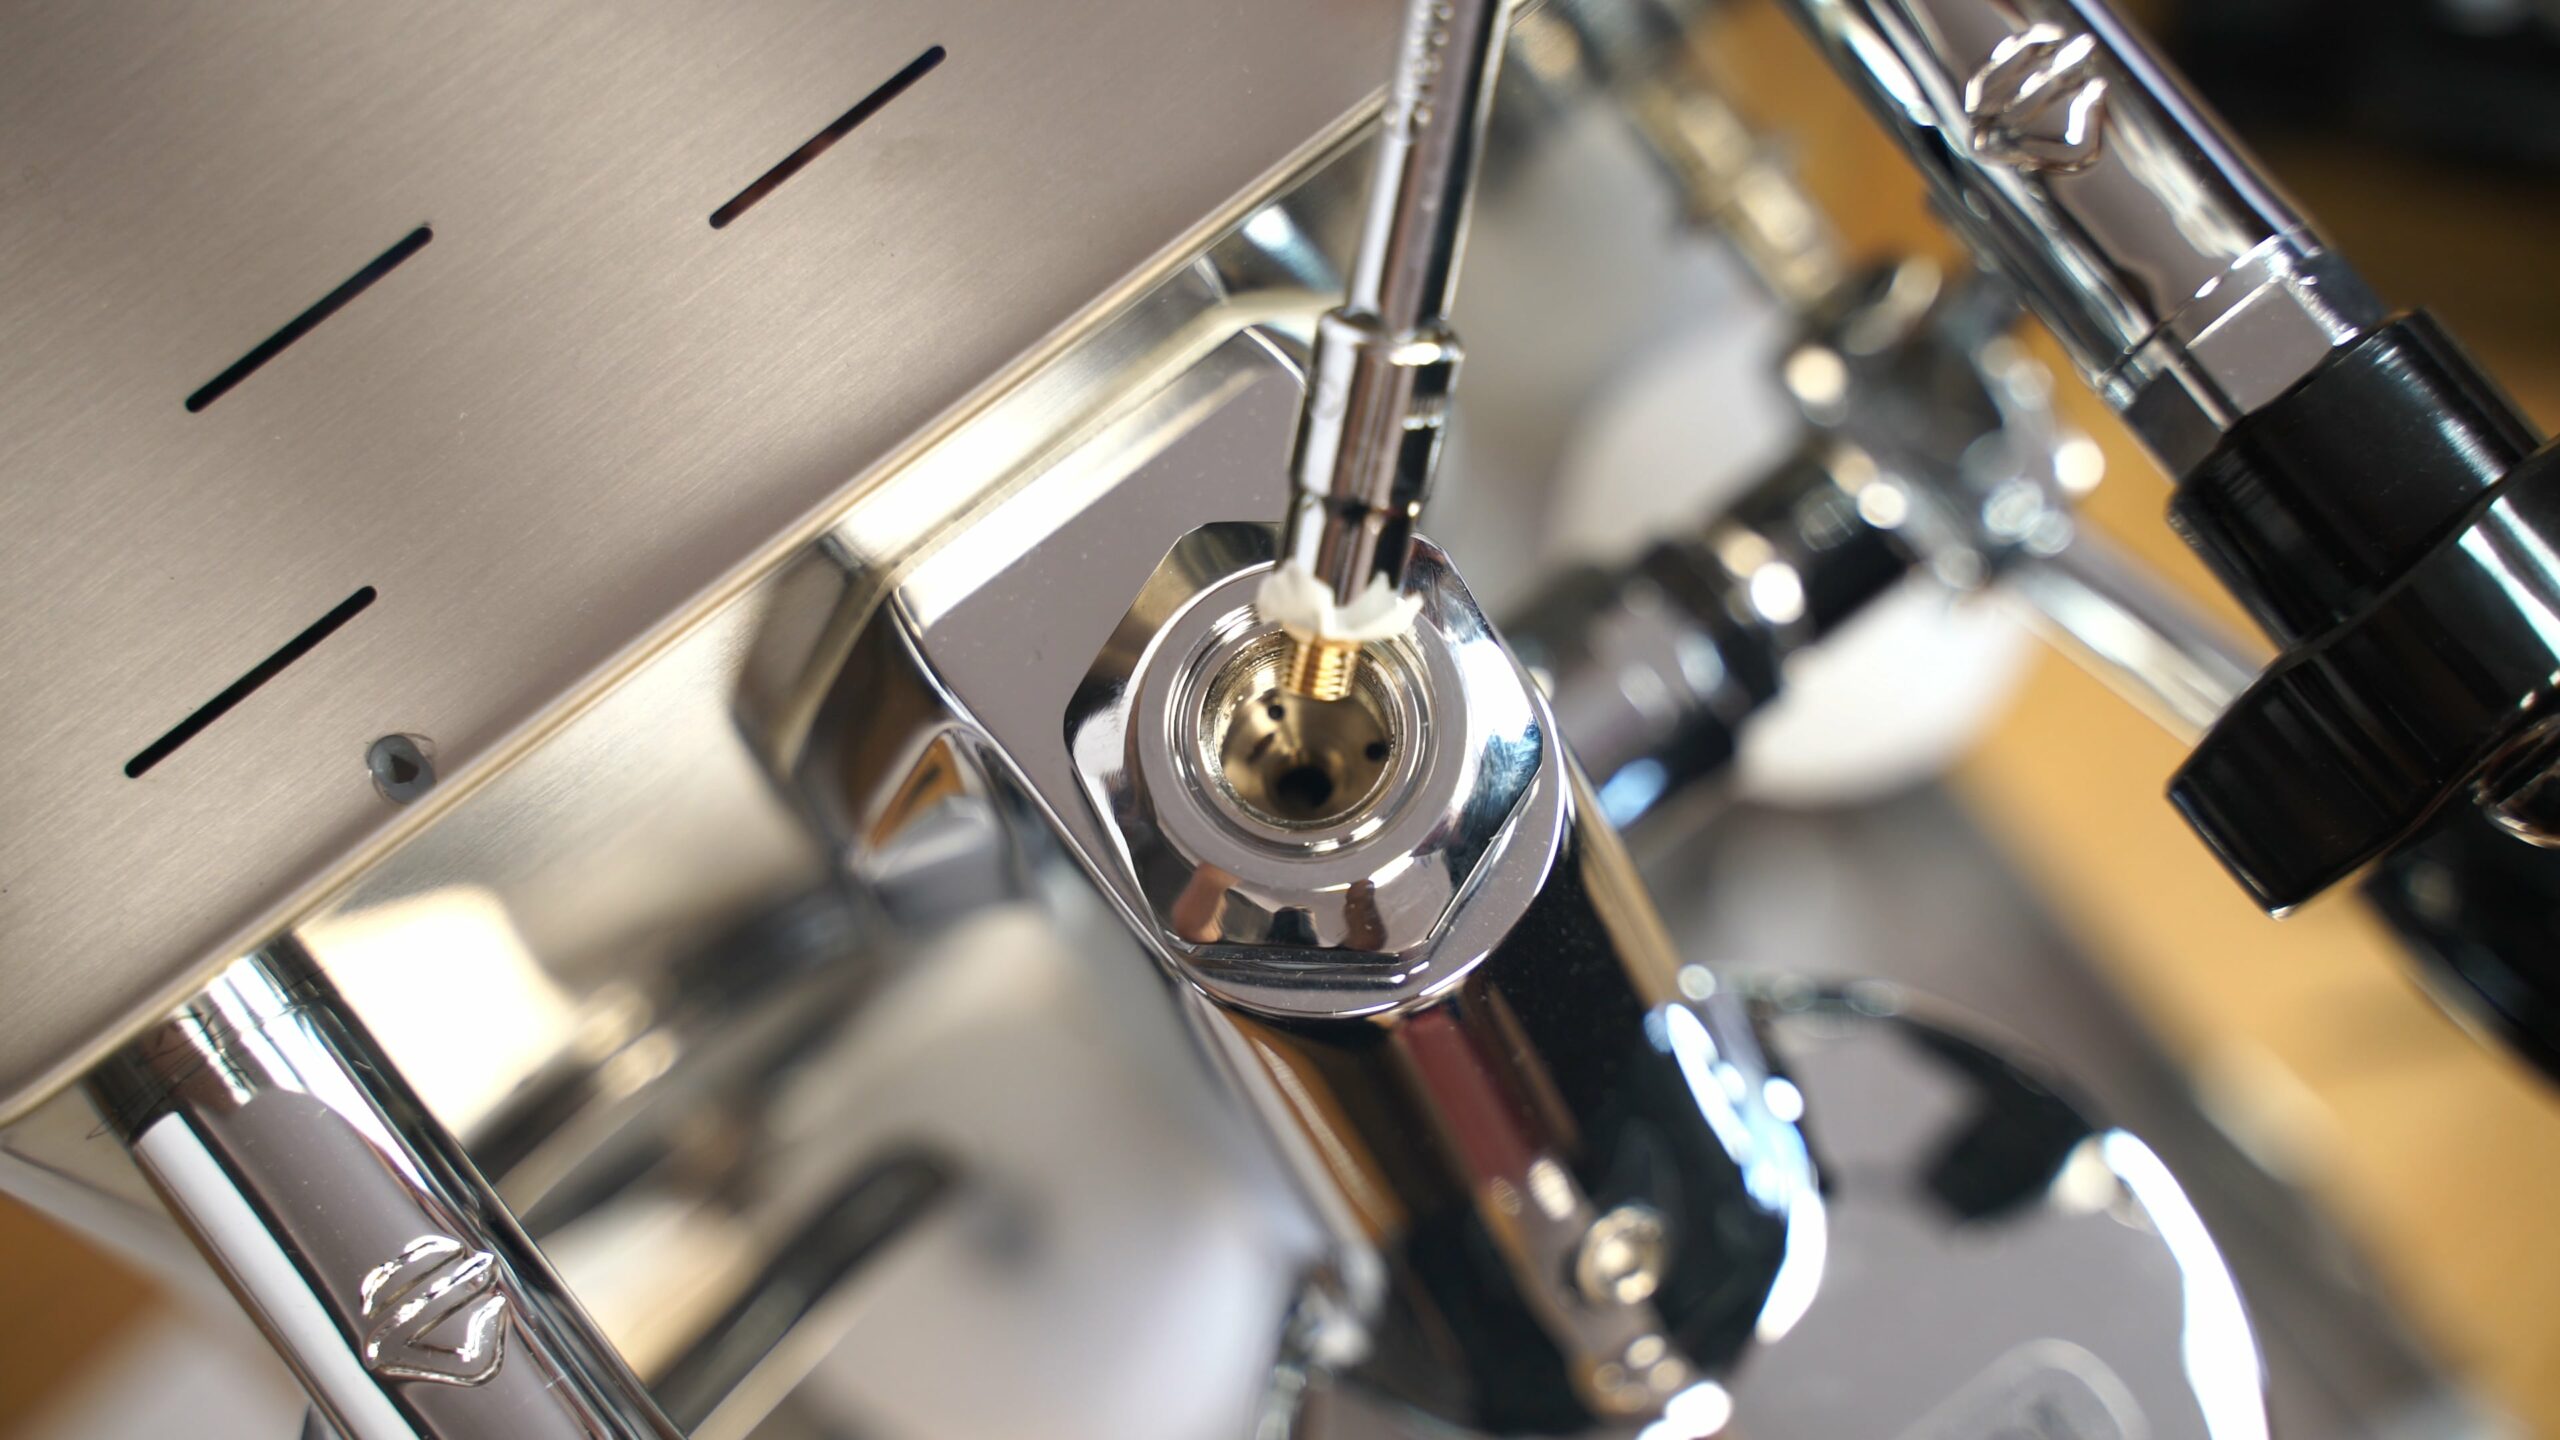
Put tape over the nut on the group head. This is to prevent scratching when you use the wrench to remove it.
2
Remove the nut and the screen.
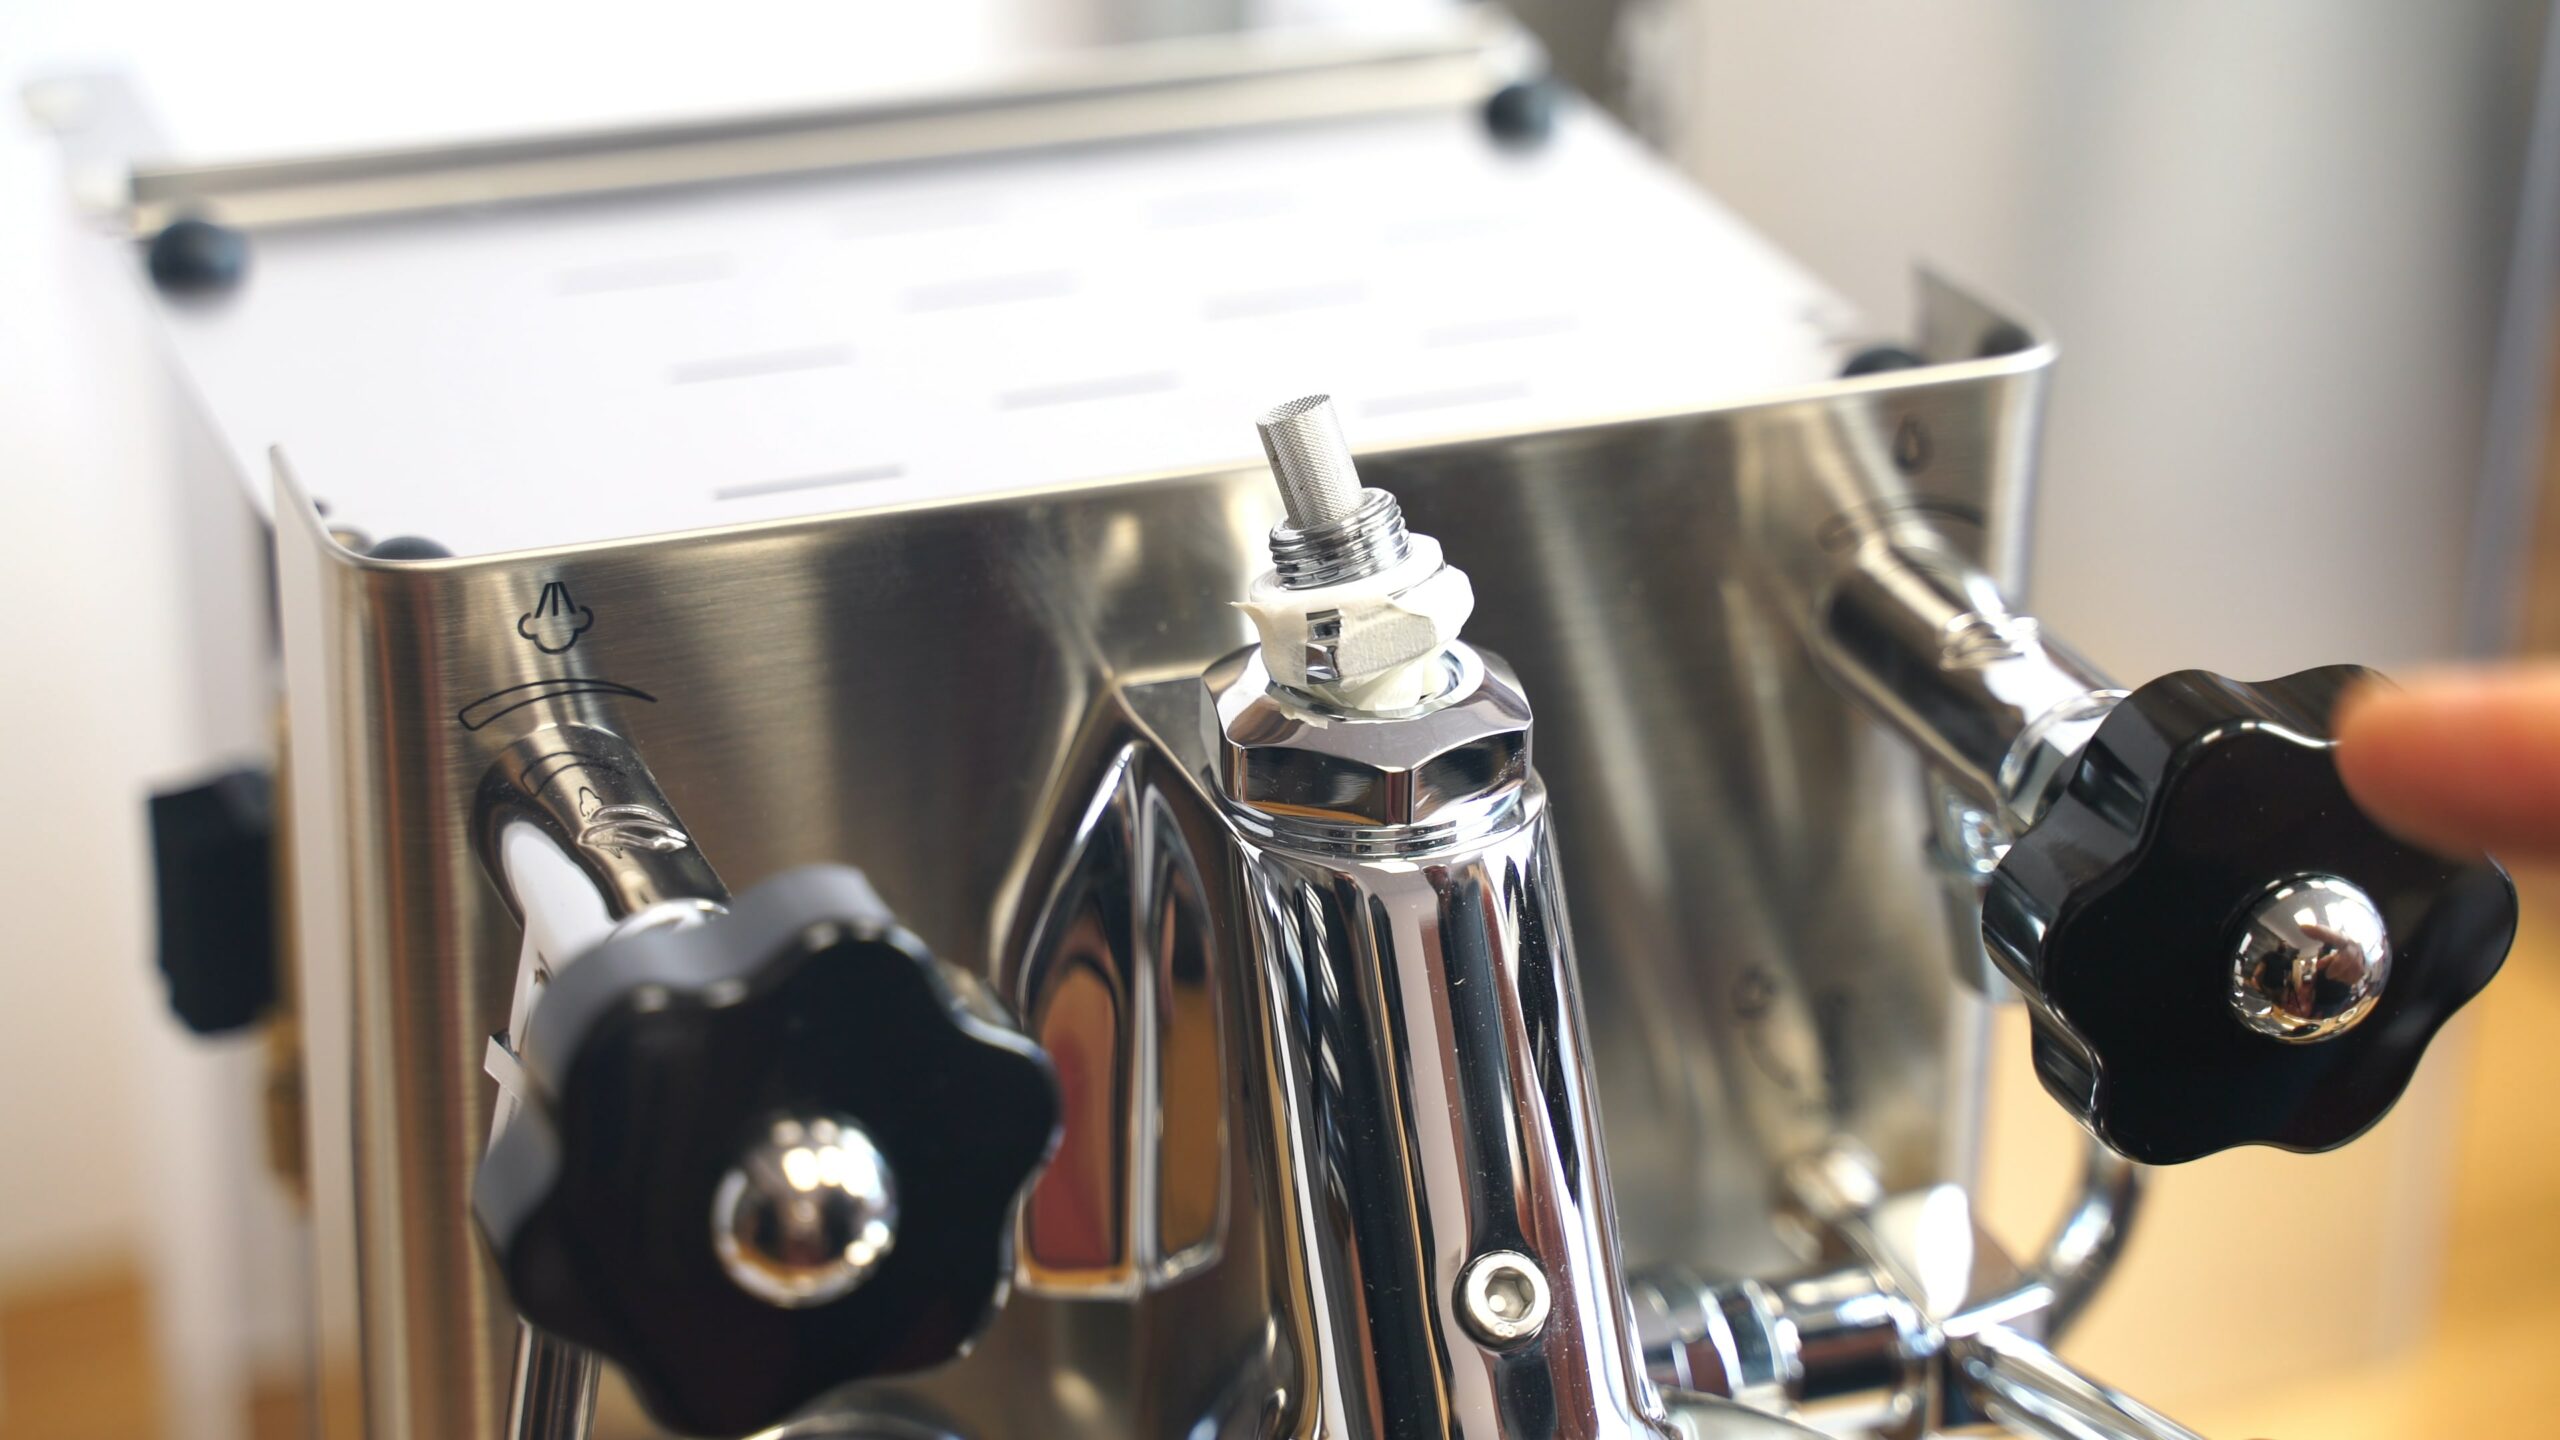
3
Use a 7mm socket wrench and remove the brass nut inside.
4
Take out the brass nut
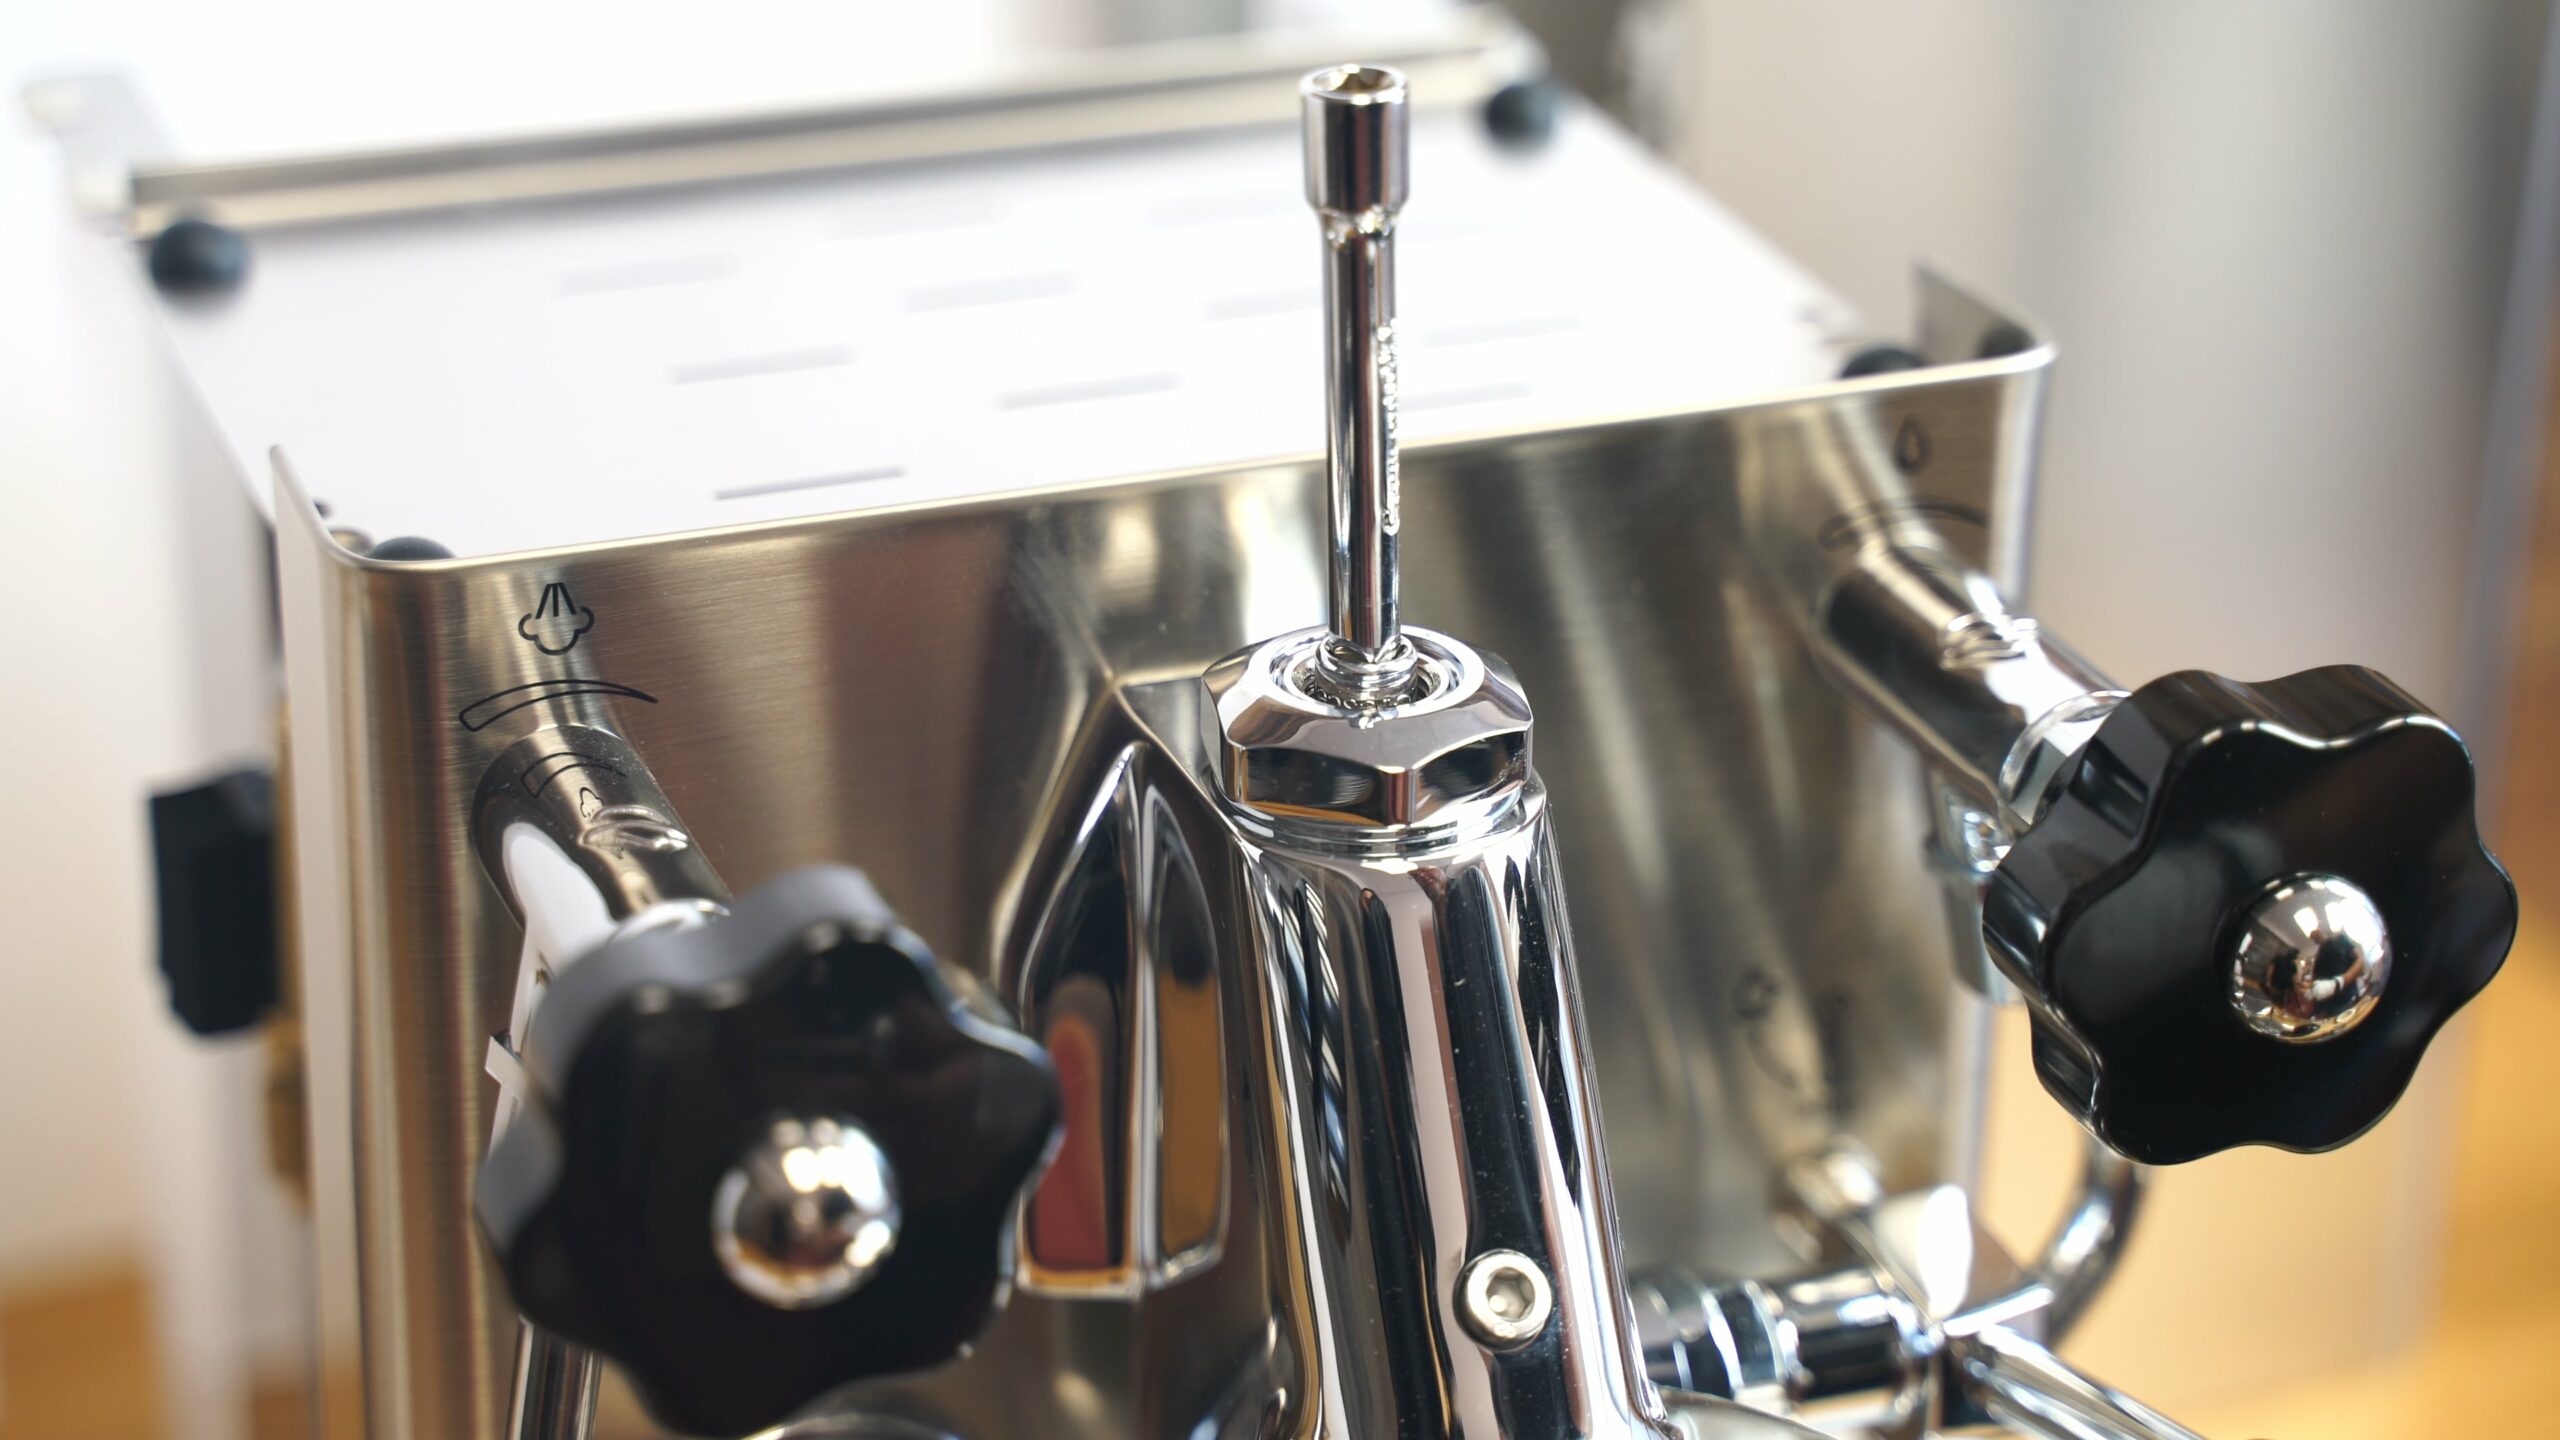
5
To make it easier to put the new brass nut in, put tape on the 7mm socket so it holds the nut in place. Put it back inside. Hand tighten it and then use the socket wrench to tighten it all the way. Do not over tighten because you will break the brass nut.
6

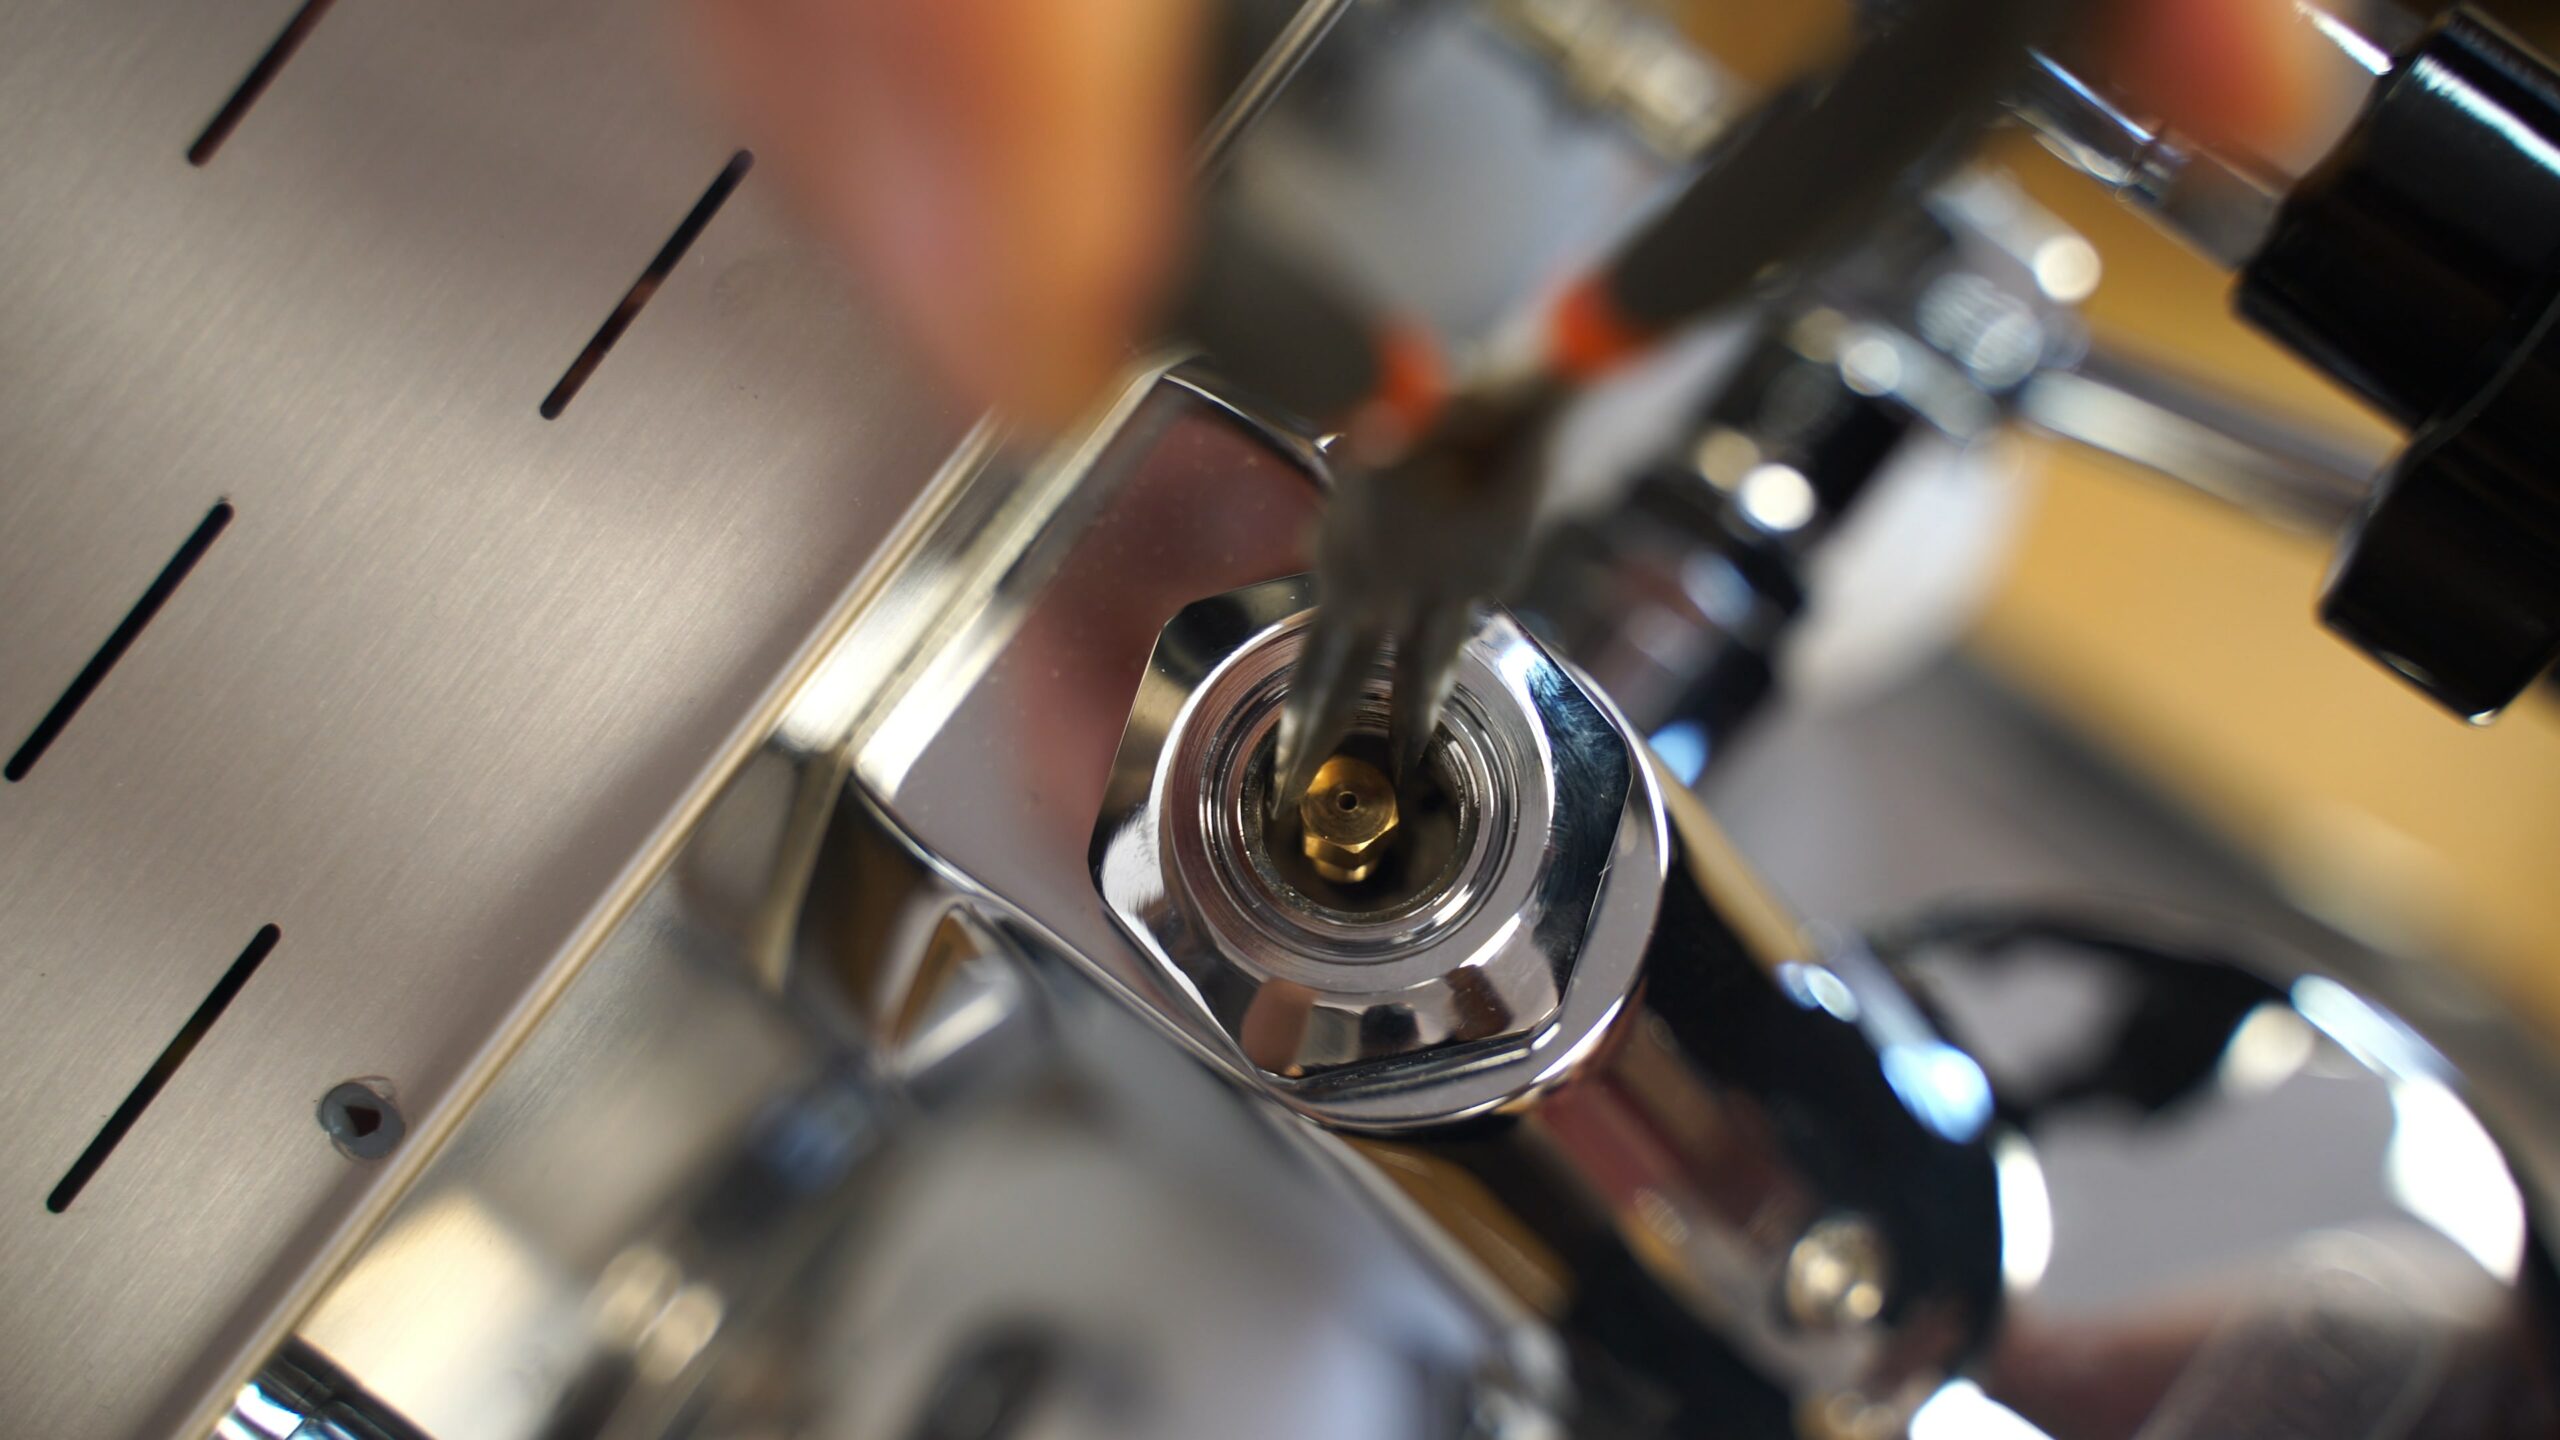
Remove the 2 extra O-rings on the flow control device
7

Make sure that the threading is all the way up.
8

Make sure the needle is all the way in on the flow control device
9

Put the white gasket on the flow control device.
10

Put the flow control device inside
11

Use a 22mm wrench and tighten it all the way. Do not over tighten it.
12

Remove the sleeve by using a 36mm wrench.
13

Remove the old spring and spring guide.
14

Take the brass valve and put it with the new spring and new spring guide.
15

Put it into the sleeve
16

This is the hardest part and may take a few tries. Screw the sleeve back on.
17

When tightening the sleeve back on, be careful not to hit the front panel of the machine. Do not over tighten it.
18

Use a 5mm allen key to remove the screw and white gasket.
19

Take the white gasket and put it on the Fixing pin and hand tighten it in.
20

Cut the zip tie with all the gaskets
21

Place the black gasket in first and then place the red one on the fixing pin.
22

Put the manometer on the fixing pin and hand tighten it in.
23

Place the paddle on top in the open position as shown in the picture.
24

Move the paddle over to the close position. Take the paddle off and place in the open position again. Repeat steps 23 and 24 until the needle stops without over tightening